
Observing specimens under the microscope can be fun and exciting but understanding just how small some of these specimens can be can really starts to put things into perspective and bring you deeper into the microscopic world. Since objects under the microscopic are usually too small to measure using an ordinary ruler, we must use more intricate and mathematical methods to figure out the size of our specimen.
There are two predominant ways to measure specimen size under a microscope if you don’t have specialized microscope camera software. You can calibrate the ocular micrometer for each objective by using a stage micrometer to determine the relative size of a single ocular division, or you can use stage micrometer to determine the field of view (FOV) diameter for each magnification and divide it by the number of objects fitting across the field of view for a specific magnification level.
Using the ocular micrometer and stage micrometer approach is the more accurate approach but it also requires both of those tools and is a bit more time consuming. The field of view diameter approach is more of a rough estimate, but both are good to know. There is also other software that comes with microscope cameras that can make measuring very easy but in case you don’t have that available, I will go through how to measure the size of a specimen under the microscope using the two methods mentioned above.
Use an Ocular Micrometer with a Stage Micrometer
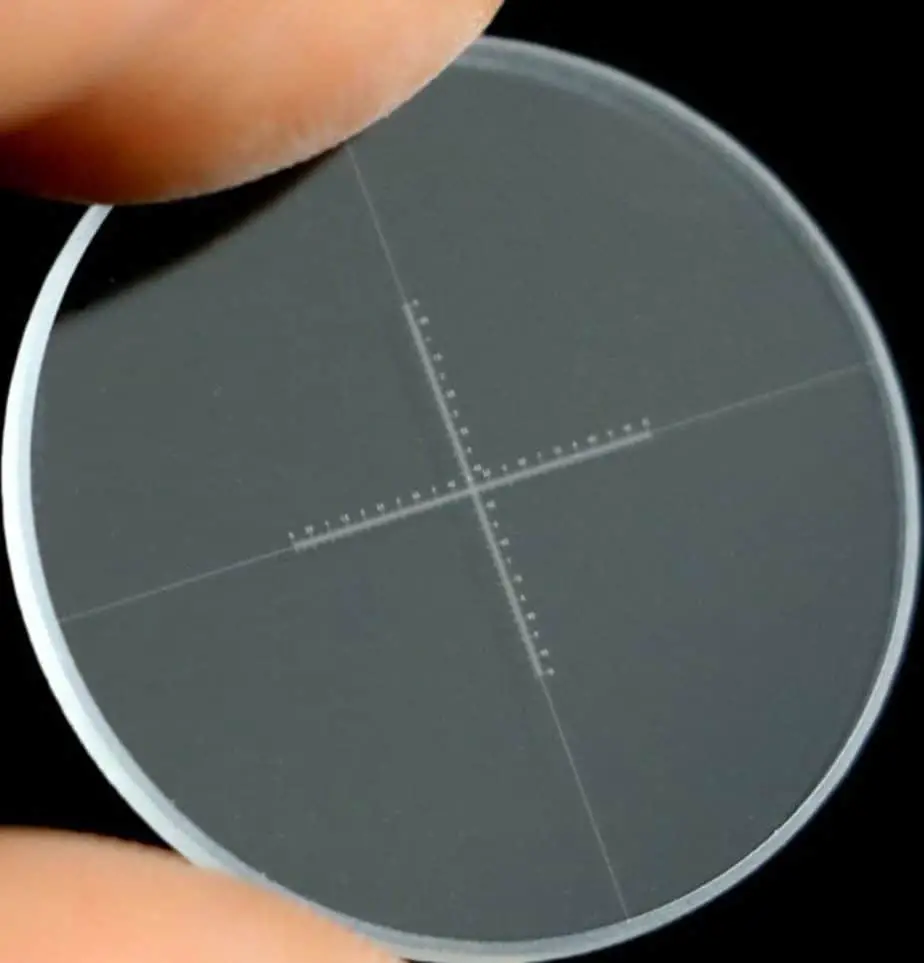
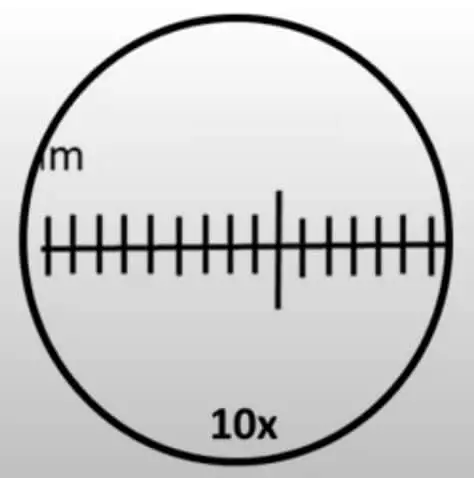
Using a calibrated ocular micrometer is one of the most reliable way to determine the size of a specimen. Ocular micrometers, commonly known as reticles, are glass discs inscribed with uniformly spaced lines. You can snag one here on Amazon.
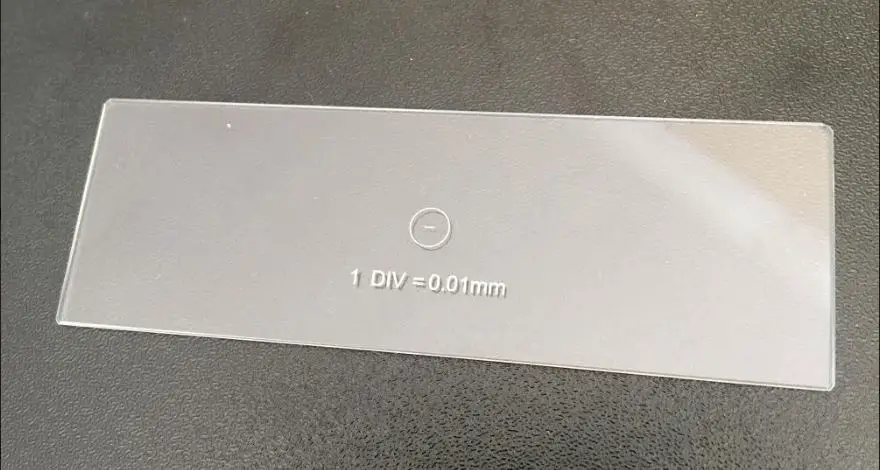
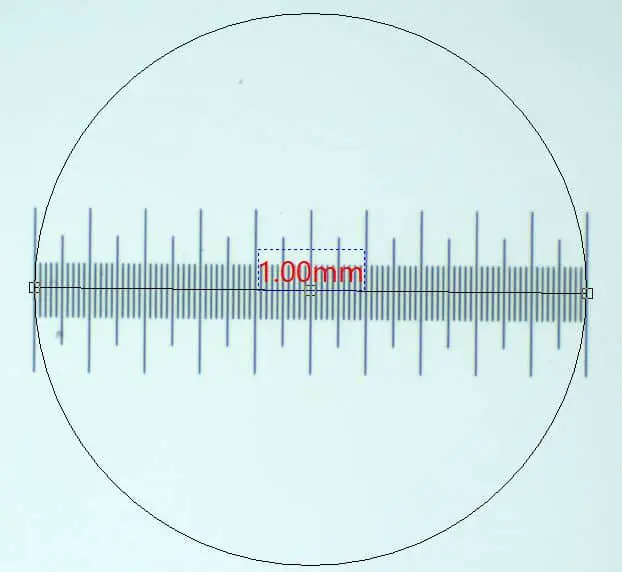
A stage micrometer looks just like a slide except on the center of the slide there is an extremely small ruler. If you buy a microscope set these usually come included. They are usually wrapped in lens paper in an individual plastic slide container. This is the stage micrometer I have and it is really well made and precise.
Although the ocular micrometer is usually placed in one of a microscope’s eyepieces, the distance between the lines hinges on the objective lens’s magnification. Therefore, to determine the precise distance between a reticles lines for a given magnification, it is necessary to calibrate it with a stage micrometer.
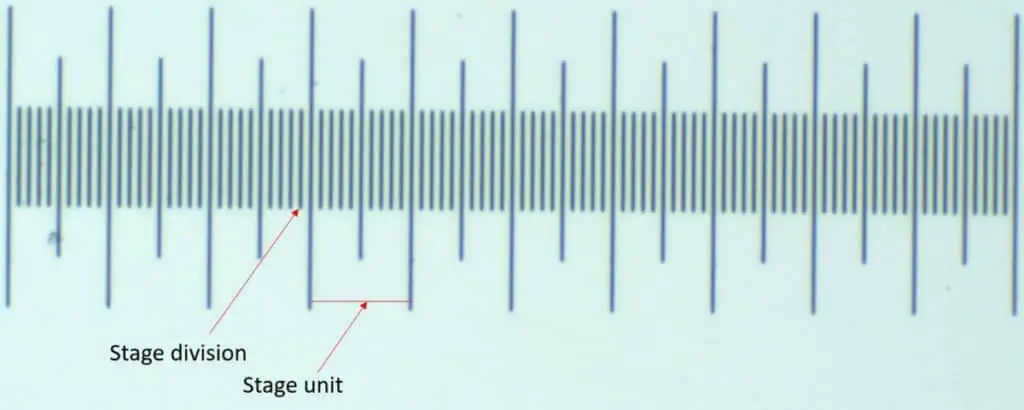
First, we need to define some terms. A stage division is any one notch on the stage micrometer. There are 100 total stage divisions in a stage micrometer. A stage unit is the length between two of the large notches. There are 10 divisions between each stage unit and there are 10 stage units on the entire stage micrometer.
The same naming convention is true for the ocular micrometer. Divisions are the smaller notches and the units are the large ones. There are also 10 ocular units that make up an entire ocular micrometer. 100 ocular divisions make up an entire ocular micrometer. You get the idea!
1. Place a Stage Micrometer on the Stage
Stage micrometers usually come in different lengths. However, the most common micrometers measure 1 division equates to 0.01 millimeters. A stage division is a single unit on the stage micrometer. By using a stage micrometer, it is possible to calculate value for the ocular units (small divisions) of the ocular micrometer.
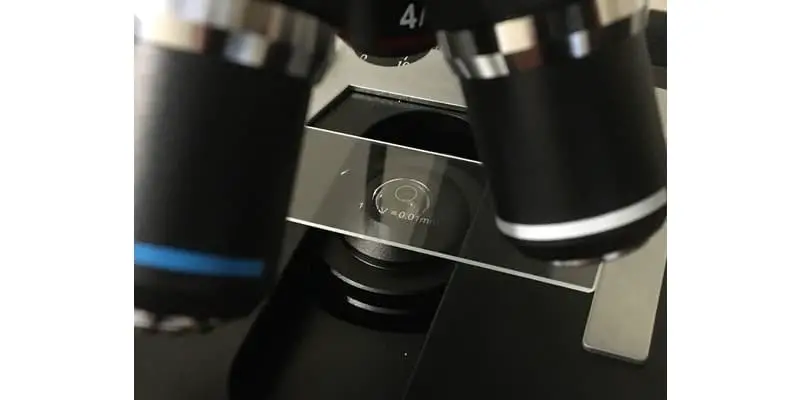
The first step towards determining the size of a specimen using this technique is by placing the stage micrometer on the stage just like any other slide. Secure your stage clips and use the X-Y translational knobs to center the micrometer above the condenser. If you are unfamiliar with the terms I am using please see this post on parts of a compound microscope. You should now see the stage micrometer under the microscope with your 4X objective.
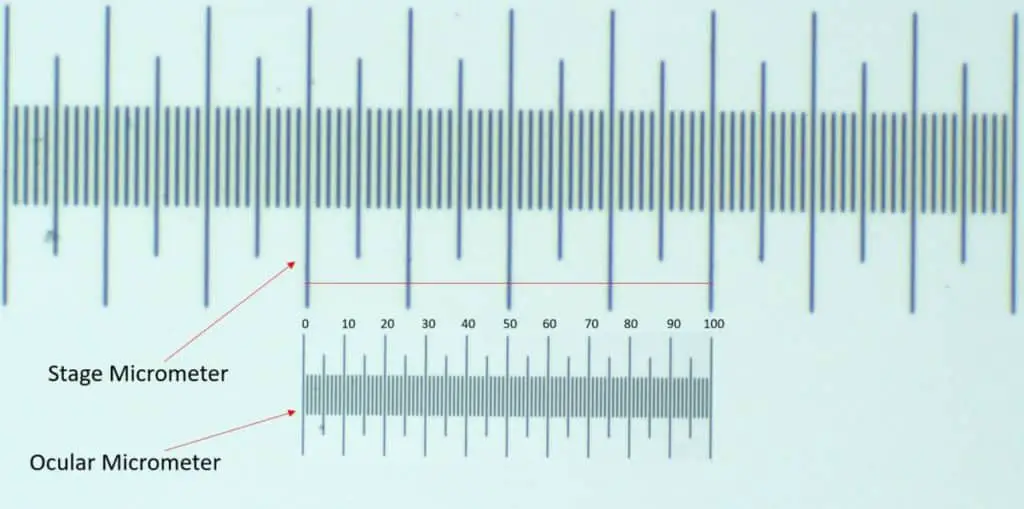
2. Superimpose the Ocular and Stage Micrometers
Before you start calculating the ocular units, you’ll need to ensure the two micrometers are superimposed. To do so, ensure the lowest power objective is in place and adjust the ocular micrometer until its lines are parallel with those in the stage micrometer. This will allow you to determine the precise distance between an ocular micrometer’s lines.
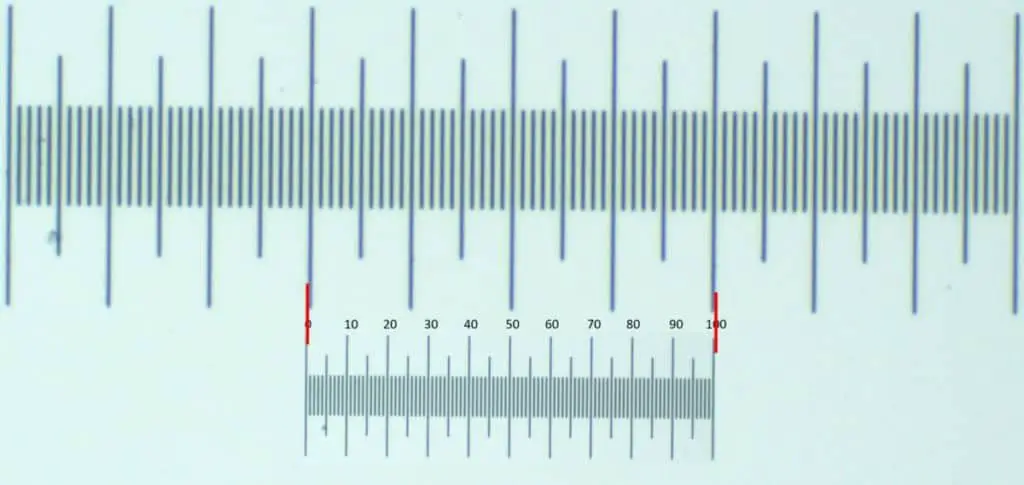
3. Determine the Number of Ocular Units That Fit in the Stage Units
Once you’ve superimposed the two micrometers, it’s time to start counting the ocular division that fit within the stage micrometer division. For instance, if the entire length of an ocular micrometer lines up against 5 stage units or 50 stage division, you can perform some math to get the relative size for the current magnification level.
The best way is to convert the length of the micrometer from millimeters (mm) to micrometers (μm) before doing any calculations. This means that a 1mm stage micrometer translates to 1000 μm. Also, since the stage micrometer has 10 stage units, each stage division value can be determined by dividing 1000 μm by 100 to get a value of 10 μm per stage division.
In this example, you’ll then equate the ocular units and the stage units to get the exact value of one ocular division:
100 ocular divisions = 50 stage divisions
50 stage divisions = 500 μm
100 ocular divisions = 500 μm 1 ocular division= 5 μm
4. Calculate Specimen Size
Once you’ve calibrated the reticle, you can use the obtained values to determine the actual size of a specimen. When you are observing your specimen you’ll just need line up the ocular micrometer with the specimen and count how many ocular divisions the specimen occupies before multiplying the total number of units with 5 μm (based on our example). If a specimen occupies 3 ocular units, its size will be calculated by multiplying 3 by 5 μm, which equals 15 μm.
You will need to write down this calculation and continue with this calibration for each magnification level on the microscope. As long as you don’t change out your eyepiece lens this calibration will be valid.
Estimate the Size by Determining the Field of View Diameter
The microscope field of view is the maximum observable area when examining a specimen through a microscope’s eyepiece. For more information on the field of view you can take a look at this post. To estimate the size of a specimen by determining the field of view diameter we need to first find the diameter of the field of view for each magnification/objective.
Then once we have the diameters of each field of view for each magnification/objective we can estimate the size of a specimen by observing how big the specimen is relative to the diameter of the field of view at whatever magnification level.
1. Find the Right Objective for Measurement
The first thing we need to do is find the right objective to get our baseline diameter measurement. Then we can do a little math to calculate the diameter for the other objectives. Keep in mind this is relative to the total magnification so if you calculate the diameters with a 10X eyepiece, the measurements will not apply to the 25X eyepiece. We need to find the objective where the magnification is such that the stage micrometer is easily counted.
Typically, the 4X objective does not work because the stage micrometer does not extend to the end of the field of view. Usually the 40X objective does not work because there are two few stage divisions visible to count and sometimes may include a partial division. The 10X objective is usually the easiest objective to determine the field of view diameter because the divisions are easily counted under that level of magnification.
2. Measure the Field of View Diameter
This part is pretty easy. Usually the stage micrometer is 1 millimeter in length and each stage micrometer division is equal to 0.01. So, if there are 80 divisions across your field of view then the diameter for that magnification level is 0.8 millimeters or 800 micrometers. Make sure you right this measurement down.
3. Calculate Field of View Diameters for Other Objectives
Now that we have the field of view diameter for the 10X objective/magnification we can do some math to find the diameter for the rest of the magnifications. We assume that the objectives are proportional and parfocal which means that the field of view diameter multiplied by the magnification for the lower magnification equals the field of view diameter multiplied by the magnification of the higher magnification. The equation is as follows:
FOVlow * MAGlow = FOVhigh * MAGhigh
So, for example let’s say we were using a 10X eyepiece and we measured 0.8 millimeters for the 10X objective. We want to calculate the field of view diameter for the 40X objective. That means we have the following variables.
FOVlow = 0.8 millimeters
MAGlow = 100X
MAGhigh = 400X
FOVhigh = ?
Now we just need to use some algebra and solve for “FOVhigh”.
0.8 * 100 = FOVhigh * 400
80/400 = FOVhigh
0.2 = FOVhigh 0.2 millimeters or 200 micrometers is the diameter for the field of view for the 40X objective under 400X magnification in this example.
Now continue this until you have estimated each objective/magnification and remember to write the diameters down so you don’t have to do it again!
4. Estimate Specimen Size
Now that we have the diameters calculated for each magnification level we can use that to estimate the size of a specimen by observing how much of the specimen fits along the diameter of the field for whatever magnification you have set and then estimating the size relative to the diameter.
For example, if a specimen takes up 75% of the diameter of the field of view under the 40X objective in our example above, we can estimate the size of the specimen by multiplying 0.75 by 0.2. This gives us an estimated size of 0.15 millimeters or 150 micrometers.
Takeaways
Calculating the size of a specimen is a great tool to have in your microscopy tool belt. It also gives you some great perspective on just how tiny some of these specimens can be. If you are interested in taking some video or pictures of your observations, it is a great idea to include some scale along with the photo or video.
I mentioned that there are some microscope cameras that come with software that allow you to calculate it automatically so if you are interested in that, you can click here to see the one I have.
If you don’t have an ocular micrometer and don’t feel like to need to buy an expensive microscope camera that will do the size calculations for you, just use the steps detailed in this post and start sizing your observations today!