
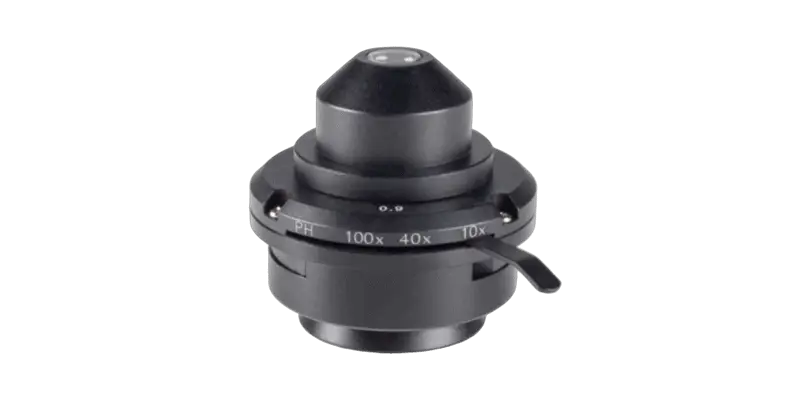
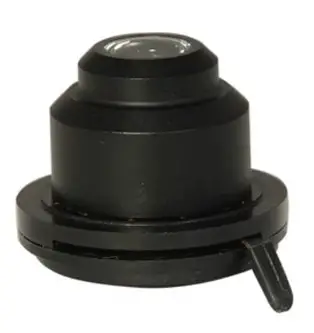
A microscope condenser is an apparatus that sits directly below the stage and contains one or more lenses. The lenses take the scattered microscope light source and “convert” the light rays into a neat, converging beam, or a cone of light which shine up through the stage aperture and specimen.
The operation of typical microscopes relies on two things. One, the light hitting the specimen correctly. Two, the light entering the objective lens correctly. A light source needs to illuminate the specimen in the proper fashion. The light needs to refract through and around the specimen in an organized fashion. How can we focus the light onto the specimen so that the light is organized, and more light information can be gathered by the objective lens?
There are multiple steps the light goes through to get from the light source to the specimen. A halogen light or LED light is a simple enough light source. From this source, we must make sure the light gets focused onto our specimen which is much smaller than the size of the light source. This is done using the condenser.
How Does a Condenser Work?
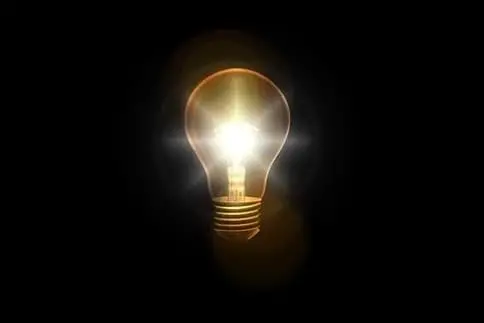
What do you notice about how the light that exits the light bulb? It goes in all kind of different directions! This is no good if we are trying to focus the light up through the stage aperture.
We need a way to focus as much of this light as possible onto the specimen we are interested in. So, let’s set up a schematic of a light source and our specimen.
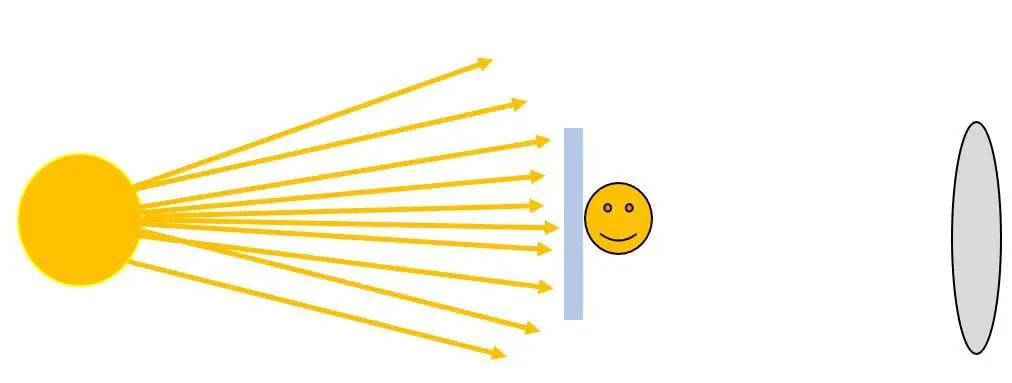
We can see that for the most part, light isn’t really hitting the specimen sample (the smiley face on a glass slide) in an efficient manner. They are hitting it at different angles and different directions. When this light passes through the microscope slide and then into the lens on the other side, it is going to be unorganized and our image will be blurry and unresolved.
This is where the condenser comes into play. The condenser will go in between the light source and the specimen and takes the random angles and “converges them”. It condenses all these different light rays into a single point into an organized cone of light.
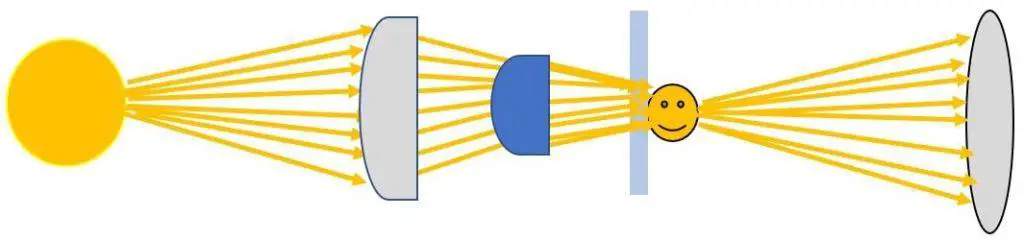
The light gets condensed and hits the sample in a more organized fashion. Thus, when the light leaves the specimen and goes to the objective lens on the other side, the specimen will appear more clear and vivid when we look at it with our eyes. A condenser is usually two lenses although on cheaper microscope sets there may only be one. The larger lens helps to collect light and form the light source and another smaller lens focuses the light down further.
There are typically two controls to help control the condenser. There is one knob that moves the entire condenser closer or further from the specimen stage. This helps with fine-tuning the resolution of the image being seen. The other control is the diaphragm, which controls the amount of light actually going to the sample. For more information on diaphragms see Diaphragm of a Microscope: What is it and how can it be used?
The mechanics of a microscope condenser are summarized below:
- Light rays propagate in random directions from the light source.
- Some of this light ends up hitting the condenser lens.
- The condenser lens “organizes” the light into parallel, or a converging beam.
- This beam contains “organized” light.
- This “organized” cone of light is directed up and refracted through the specimen which is collected by the objective lens.
Types of Condensers
There are multiple kinds of condensers out there to correct for certain things aberrations or imperfections that are seen by the observer. As we now know, the condenser helps to focus the light onto the specimen in a more organized and uniform fashion. Not to get too technical – but this focusing process can be tricky.
Light rays don’t exactly travel in a perfect manner, so engineers and scientists got creative in condenser design to account for these imperfections. There are generally three types of condensers: The Abbe (original) condenser, Aplanatic condensers, and specialized condensers.
Abbe Condenser
The Abbe Condenser, named for Ernst Abbe who invented it back in the 1800s, was the original one. This is essentially the condenser we talked about in the above section.
These are used in simpler and less expensive microscopes and are usually the default condenser shipped by the manufacturer.
These types of condensers do not correct for spherical or chromatic aberrations but can have numerical aperture settings, in more expensive models, up to 1.40 numerical aperture. If you are not sure what numerical aperture is take a look at this post.
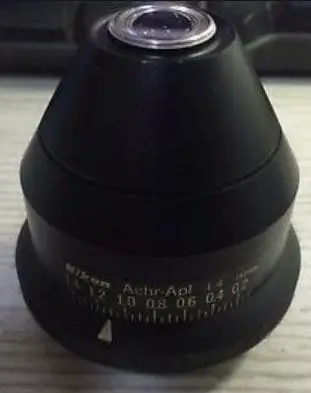
Aplanatic and Achromatic Condensers
These kinds of condensers address some errors in how light gets focused onto the beam. Ideally, light that enters and exits the condenser lenses leave like this:
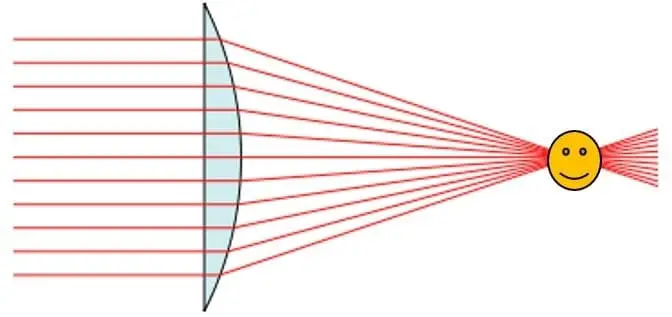
The light beams enter the second lenses mostly parallel to each other and exit with a convergence on the smiley face. In reality, this happens:
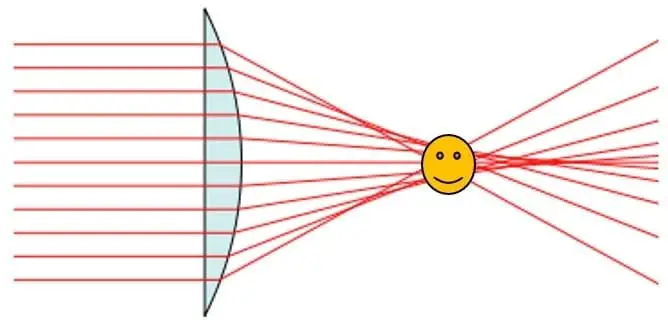
The light is all muffled! This is what optical engineers call an aberration. Basically, it is impossible to make a perfect lens because of imperfections of the glass material or how the lens is shaped. So, if you really need perfect light to enter your sample, you would use one of these advanced condensers to account for these aberrations in your light source.
The situation described above is a spherical aberration. So, there are condensers that help mitigate these kinds of errors of light propagation. Another type of aberration is called a chromatic aberration.
This is slightly more complicated. In the spherical aberration, it seems every light ray takes a slightly “off-path” route from the ideal case. Well in chromatic aberrations, every light ray of different wavelength also deviates from their ideal path.
This is a result of how light diffracts when it enters and exits the lenses. Chromatic aberration-solving condensers improves upon spherical aberration-solving condensers by not only fixing light paths, but by fixing every wavelength’s light path.
Specialized Condensers
The final category is rather broad! There are a ton of specialized applications in microscopes – whether you are looking at transparent (see-through) specimens, dark or light specimens, using different kind of light sources (using LED, OLED, or a halogen light source), etc.
There are different kinds of condensers like dark field or phase contrast which help create images with more contrast, or if you are probing materials that are dark, you need corrections to address how light interacts with the sample. For more information on phase contrast microscopy see this post. So, there are a ton of condensers being used, you just have to research what exactly best fits what you are trying to accomplish!
Numerical Apertures and Condensers
As alluded to earlier and worth mentioning here, condensers are a system of two lenses, and every lens has a numerical aperture (NA) setting that along with other factors ultimately determines the resolution of the image you will get.
This is where things can get tricky with microscope design – how do you combine multiple lenses with different numerical apertures?
Well the trick is to match the numerical aperture. If your objective has a numerical aperture of 0.80, then your condenser setting should be set to 0.80 numerical aperture. There are a lot of different techniques to maximize the objective-condenser combinations. As described in the article Microscope Numerical Aperture: A Layman’s Explanation, optimizing numerical aperture of lenses is a highly sought-after solution for scientists and engineers.
Methods like oil immersion are often used in condensers to improve their numerical aperture and ultimately the resolution of the image.
For example, if you are using an oil objective with a numerical aperture of 1.4 and you are trying to use a condenser with numerical aperture of 1.4 to match the objective, you will need to apply oil, not only to the objective, but to the top condenser lens between the condenser lens and the underneath side of the slide to achieve the proper numerical aperture. If you don’t apply the oil the highest numerical aperture you could get is 1.0.
Takeaways
What we have learned today is that the condenser of a microscope is a series of lens used to control the light hitting the sample. Light leaving the light source is sporadic and the condenser helps to “organize” and “focus” the light onto the specimen correctly.
There are specialized types of condensers to account for errors in how light goes through a lens or with issues related to the contrast of images. Condensers are made up of lens, so ultimately the numerical aperture of the condenser will decide how fine the resolution of the final we see can get.
Condensers are vital parts of any microscope system, and their relationship to the light and objective lens is the ultimate decider of how well a microscope will function.
