
There are two things that must happen for a microscope to work successfully. One, the light must hit the specimen we want to see, and two, after hitting the specimen, the light needs to get collected and magnified. The diaphragm and condenser are important components of this first mechanism, in focusing the incoming light.
The microscope diaphragm, also known as the iris diaphragm, controls the amount and shape of the light that travels through the condenser lens and eventually passes through the specimen by expanding and contracting the diaphragm blades that resemble the iris of an eye.
Depending on the type of diaphragm and the settings applied to the diaphragm this can have minute but important effects on the quality of the image. In this post I will take you through all the nuances you need to know that will improve your microscope observations and ensure you get the best quality images given the equipment you possess.
Function and Purpose
The primary function of the diaphragm is to change the angular aperture of the cone of light that is produced after the light travels through the condenser. The size of this cone of light is important because if there is a mismatch between the size of the cone of light and the optimal numerical aperture on the objective lens in place you will not get the optimal image quality.
For example we can use the diaphragm to change how much light will get focused onto the sample. In a case with unhindered light, we have something like this:
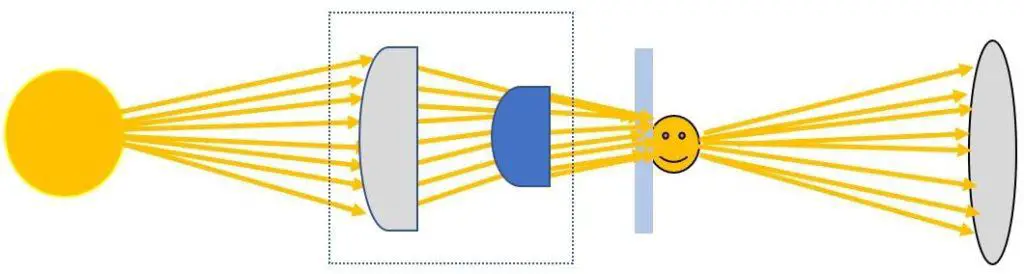
On the left, we have a generic light source. The two lenses to the right of the light source are the condenser. The first lens converges the incoming light and the second lens focuses the light onto the sample and glass slide (the smiley face). Finally, the light will end up passing through the objective lens (far right) which will magnify the light. But what happens if our specimen is sensitive to light? What happens if our image is too bright? We need a way to control the amount of light entering the condenser and change the shape of the cone of light.
Enter the diaphragm! As you can see it limits the light traveling through the condenser. Without us necessarily changing the brightness of the light source itself.
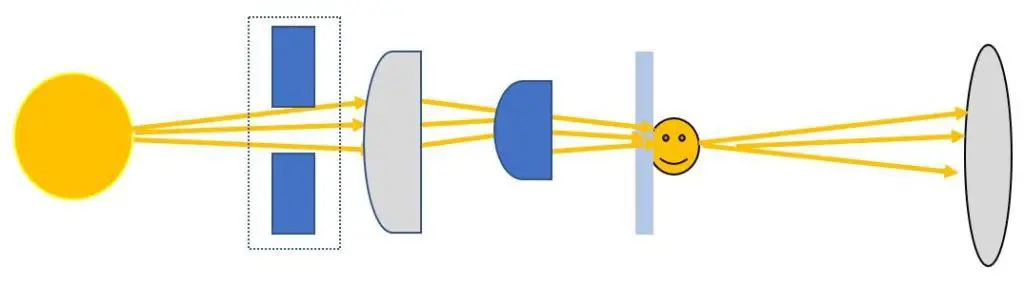
If we allow more alight to pass through you can see the difference:
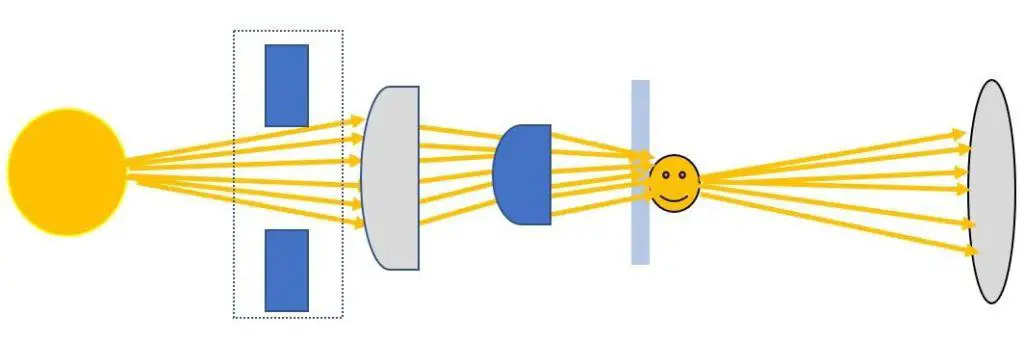
It is simple a way to change the amount of light by physically blocking out light.
Types of Diaphragms
Disc Diaphragm
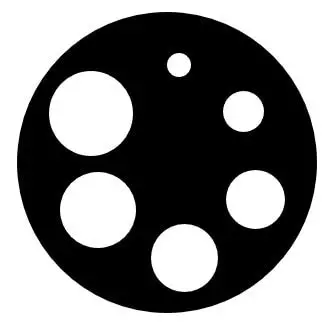
A less common diaphragm is a disc diaphragm looks a little something like this. It is basically a spinning wheel with different diameter openings. Want more light? Switch it over to the large hole. Want less light? Go to the smaller sized hole.
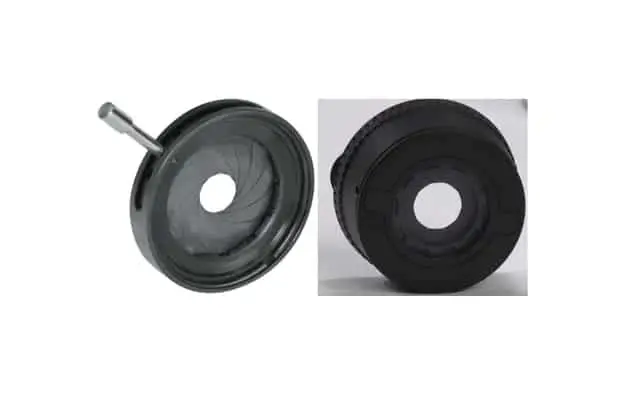
Aperture Iris Diaphragm
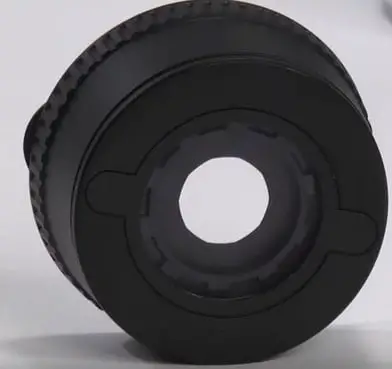
The more common type of diaphragm is the iris diaphragm. These are a little more sophisticated and are more common among more expensive and more advanced microscopes.
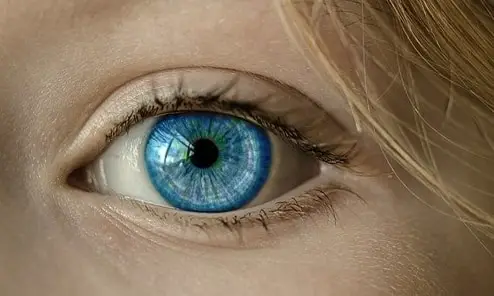
The iris diaphragm is named “iris” mainly because it does the same exact thing as the iris does for our eyes. Your iris controls the amount of light that enters your cones and rods of your eye by adjusting itself to be larger or smaller.
It’s like when you are outside in the dark for 1 minute vs. 15 minutes – your iris is slowly expanding so it gathers more light.
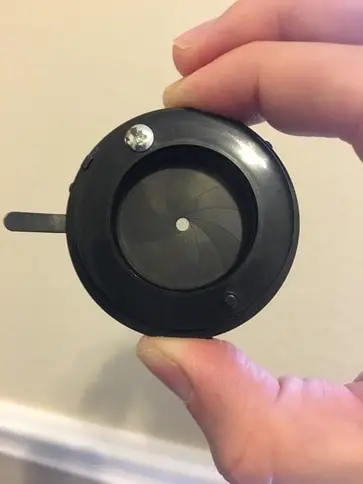
This diaphragm is located closer to the condenser system of a microscope. In fact, the condenser sits right on top of the iris diaphragm. The image below is an example of the iris diaphragm and it opens and closes by sliding the switch along the grove which opens and closes the diaphragm to differing degrees. The aperture iris diaphragm goes hand in hand with a more technical concept called numerical aperture. For a simple explanation of numerical aperture see this post.
This diaphragm is also used to control the contrast. As in, how much light and dark differ from each other in an image. The higher the contrast, the more details you can make out between like colors. If you are observing highly transparent specimens, you may need to close the diaphragm more than you typically would to achieve the contrast necessary to see the detail.
Field Diaphragm
This diaphragm is located closer to the light source of the microscope. This operates in the same way, but this controls how much light and how large the field of view of the resultant image will be. An example at different settings are below:

As one can imagine, the field diaphragm controls the resulting field of view of the final image. This does change the amount of light entering the microscope, but it does not change the contrast or quality of light.
Trade-offs
As with many of the settings in the microscope, there are always trade-offs. When you are fine-tuning your image, you must balance the contrast with the total image you are seeing. You cannot fully open your field diaphragm while having high contrast. The more light you are inputting, the less contrast you will get and vice-versa. The less light you put in, the more contrast you get. This is why focusing microscopes can take such a long time. You need to find the perfect balance between contrast and the total image size and brightness you will get. For more on how to focus a microscope see this post.
Furthermore, the resolution of the microscope image depends on the use of both diaphragms. If you just have all the diaphragms fully open – the image is going to be flooded with light. It will appear bland and no contrast and almost “blurry”. On the other hand, if you have it almost completely closed, you are preventing a lot of light from getting to the sample. This image will look “incomplete” and grainy and not resolved.
It needs to be well balanced so that the final image is resolved, high contrast, and bright. If you are a beginner, I wouldn’t worry too much about the field diaphragm. Keep it simple and focus your attention to getting the iris diaphragm opened to the optimal level given the current objective lens in use.
Takeaways
There are no formulas for how to go about using the diaphragms in a complementary manner. It depends on many factors that could be specific to the specimen, or your microscope. There is balance between contrast, brightness and area that you just need to play with and get a feel for.
You can never get an image that is high contrast, bright and large. Adjusting the different kind of diaphragms on a microscope helps the observer to find a good balance between all of them. They are all interesting components to consider when focusing your microscope.