
With advances in science and technology, it has become more accessible and less expensive than ever for people of all skill levels to have and use their microscopes. So, whether you are studying in school, working in a lab, or using one at home on your own time, the proper preparation of microscope slides is a basic but essential skill to have.
Microscope slide preparation is the process of readying a slide for observation under an optical microscope. Standard techniques, such as wet mounting, dry mounting, and smearing, are used under certain circumstances to observe specimens under a microscope.
In this article will discuss what microscope slides are, the different types of slides, and how best to prepare them.
What Is A Microscope Slide?
A microscope slide is a tool for viewing samples under a microscope. It can serve many purposes, from helping to keep an object or organism in focus, to protecting your microscope’s lens from contamination. What a slide can do for you depends on the type that you use.
The microscope slide is transparent so that light from the illuminator can pass through the slide and specimen which refracts the light and helps to form the image you see when you look through a microscope.
Types of Microscope Slides
Although every microscope slide serves the same primary role, making viewing a sample easier, different slides have more specialized uses.
Flat Slides
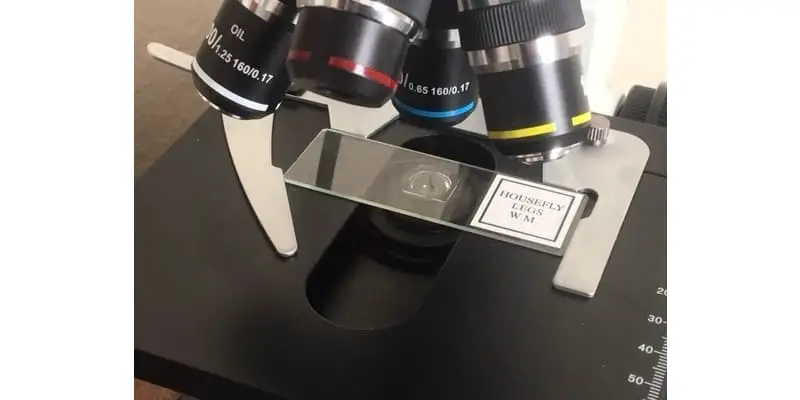
Flat slides are the most common type and come to mind when most people think of microscope slides. They are flat rectangular pieces of clear glass or plastic, usually one by three inches and about 1 millimeter thick. These traditional slides can be paired with coverslips, made of glass or plastic, that flatten out samples for more convenient viewing.
The purpose of flattening samples with coverslips is to:
- Prevent microscopic objects and organisms from coming out of focus by raising or lowering within the liquid solution.
- Compress the sample so that all material is on the same plane, removing the need to refocus to view objects at varying depths.
- Protect the microscope’s lens from being contaminated by the sample when zooming in very close.
Cavity Slides

Cavity slides may also be referred to as Well Slides. While they can have the same shape and size as flat slides, they are thicker and have at least one shallow depression made to hold substances like tissue cultures. Because cavity slides have to hold materials that are not meant to be compressed, they do not use coverslips.
It is always important to ensure that you are never pressing your objective lens into the microscope slide. Although most objectives are built with a spring to absorb some of the contact, there is still a possibility that you will damage the objective.
Why Is A Microscope Slide Necessary?
Microscope slides make it possible to study material and organisms, sometimes suspended in liquids like water, with great accuracy. They restrict the viewing area’s size and depth, making it easier to track objects and keep them in focus. Perhaps more importantly, they provide a safe way to examine potentially hazardous fluids, like blood.
How To Prepare Microscope Slides
Proper microscope slide preparation is essential for the integrity of any samples you hope to observe. Mistakes made here can ruin your sample and compromise any observations you wished to make. The way you prepare a slide varies from one type to the next. Here we’ll review how to prepare the most common type, the flat slide.
Prepare Flat Slide
The three most common ways to prepare a flat slide are as follows:
- Dry Mounting – Dry mounting is used for dry samples. Samples are placed onto the center of the slide. A coverslip may be used to hold the material in place, but this can often be unnecessary.
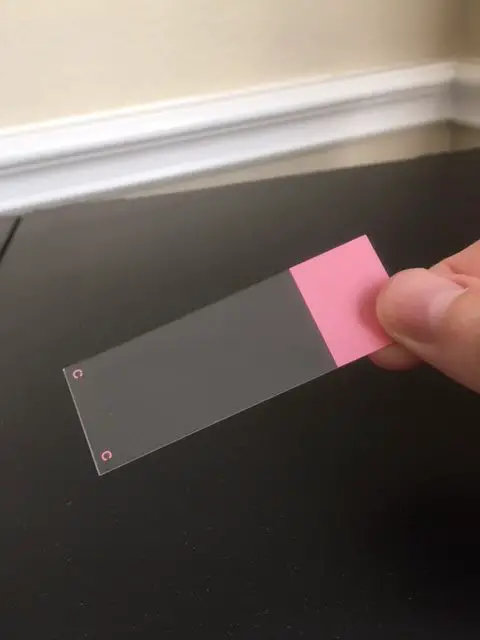
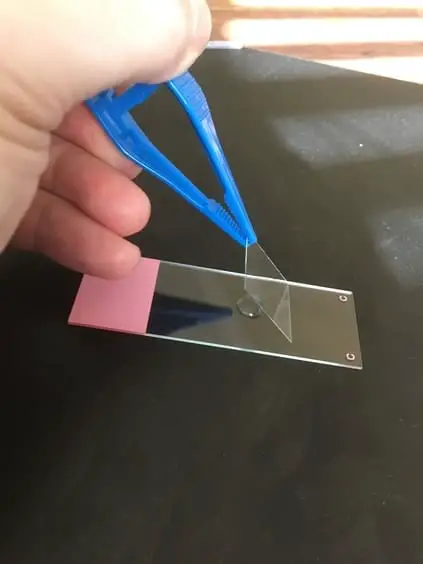
- Wet Mounting – Wet mounting is used for liquids or samples that should be suspended in a fluid. Place a drop of your sample onto the center of the slide. A coverslip can be placed onto the drop with tweezers, starting at an angle on one end and slowly lowering to avoid trapping air bubbles. The liquid should spread between the two sheets without you needing to press them together. For a complete guide on wet mounts see this post.
- Smearing – Smearing works precisely the way it sounds. A sample is spread evenly across a small area or the slide’s whole surface and allowed to air-dry before a coverslip is laid over it.
There are other slide preparation techniques as well as other kinds of slides, but many of those are specialized and are not relevant to this discussion.
Where Can I Buy Microscope Slides?
Microscopes slides are available for a minimal cost at retailers like Amazon.com. These are my top three choices for the best value you can find:
- The AmScope Blank Ground Edge Glass Microscope Slides – The number one bestseller in lab microscope slides, this pack from AmScope, includes 50 new slides and 100 coverslips. These slides are perfect for use with an optical microscope in the lab or out in the field.
- The Twdrer 100PCS Clear Transparent Blank Microscope Slides – Twdrer offers another of Amazon’s top sellers. Though these are not quite as thick as the slides provided by AmScope, they do come with twice as many slides for nearly the same price.
- The Assorted Specimen Collection – SWIFT brings us 100 already prepared slides in a quality wooden case. This item makes for outstanding practice if you are starting with using a microscope or an excellent learning tool if you want to engage your children with science.
Other Materials You May Need
- Microscope stains – Microscope stains are dyes that can contrast to a sample and make it easier to distinguish details under the microscope. The Innovating Science Vital Stain Kit includes seven different stains designed for use with organic material like living cells without killing them.
- Learning materials – Expand knowledge for your child, and yourself, with award-winning books like The Usborne Complete Book of the Microscope. This textbook, available in both paperback and hardcover, reviews many techniques for exploring the world of microscopy. It also takes an adventurous look at the many things too small to be seen with the naked eye.
DIY Microscope Slide
You can make your own microscope slides with a little bit of time and some everyday household items. The most important thing about a slide is that it is transparent so that light may pass through it. That is why the best slides are made from thin, clear glass. However, if you don’t have access to that, you can mockup a slide with some clear scotch tape.
Simply fold in either end of the tape to make non-adhesive handles and place your sample in the center on the still exposed sticky area. It’s that easy, and you’re done. There are severe limitations to this method, as wet mounting is entirely out of the question, but it handles dry-mounted samples very well. Keep in mind this is just a fun activity that will actually work, but for the best quality observations you need to use actual microscope slides.
You can watch a quick YouTube video that takes you through the process right here:
Takeaways
There are many reasons to explore the microscopic world, and just as many professions are devoted to them. Microscope slide preparation is an essential skill to learn and, while there are different types of slides, it’s not a difficult one to master. Follow the steps outlined in this article, and you’ll be well on your way to doing just that.