
Today’s technology allows us to peer at enormous bodies thousands of times larger than our world and the tiny things all around us, hundreds of times smaller than a grain of sand. Even iPhones can be converted into microscopes capable of viewing microorganisms, but you meet a problem when you reach these some of these tiny structures. Many microscopic objects are translucent, also known as phase objects, so how can you study them in detail?
Microscope slide staining is the process of adding colored dye to a slide. Staining creates a visual contrast between the object or organism you are viewing and its surroundings. Subjects like bacteria can be seen in greater detail after being dyed, allowing for a more in-depth study.
In this article, we will discuss microscope slide staining in detail. We will also describe how staining is performed.
What Is Microscope Slide Staining?
Microscope slide staining is a microscopy technique used to help study microscopic objects that are difficult to see clearly, even at high magnification. By introducing a dye to a specimen on your slide, you can visually contrast your specimen and the surroundings.
Types of Slide Dyes
There are many dyes that are used with a microscope slide staining. Some of them are used for live cells, whereas others are designed for brightening purposes. If you want to know which dyes you can use with your microscope, you’re in the right place. Below, we’ll cover the primary dyes that you would encounter and when to use them.
- Bismarck brown is used to stain cartilage, bone, live cells, and acid mucins. It can change the color to brown or yellow, depending on the material.
- Brilliant cresyl blue is used to review developing, immature red blood cells. It’s dangerous, so users have to wear masks, gloves, and goggles.
- Cupric acetate enhances polarized light images, but it’s also used in pesticides, making it a hazardous substance. Dress appropriately when using it.
- Cupric sulfate improves visibility with a variety of substances, most of which are made of metal.
- Janus green is used to inspect mitochondria once it’s been removed from the host plant.
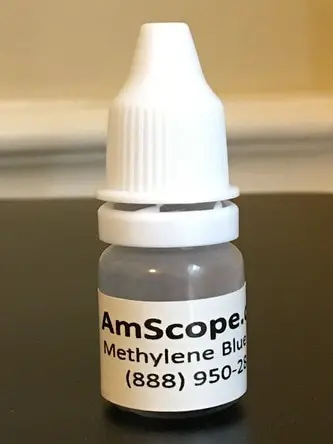
- Methylene blue makes body fluids and other organic substances easier to view. It is also used for multiple medical conditions and procedures.
Most of the dyes listed above have multiple uses, many of which aren’t related to microscopes. Regardless of the dye you’re using, it’s essential that you wear safety equipment. Some dyes are toxic and can cause health hazards, whereas all of them are designed to stain (your clothes, carpets, and walls aren’t safe).
What Are Some Microscope Slide Staining Techniques?
The idea of microscope slide staining is simple, but the science behind it is complicated. Techniques create contrast in different ways, and certain dyes are designed to highlight specific microscopic structures. Some of these techniques are explained below.
Basic Stains
Basic stains are commonly used in bright-field microscopy. The dyes used in this stain are absorbed by the subject you are trying to view, giving it a specific color based on your chosen dye. The colored object or organism stands out very clearly against the white background which surrounds it.
Negative Stains
Negative stains are the opposite of basic stains and are used in dark-field microscopy. The dye used in this stain is not absorbed by the subject and instead darkens the fluid surrounding it. The object or organism stands out as clear or bright against the dark background.
Gram Stains
Gram stains are used to identify differences in bacteria in a multi-step process that involves the use of two dyes:
- The first dye is added to color all the bacteria in the sample a deep purple.
- Iodine is introduced to seal that color into certain bacteria, referred to as gram-positive cells.
- Alcohol is applied, which dissolves the cell wall of gram-negative cells and causes the original dye to escape.
- Finally, the second dye is added, and the gram-negative cells turn pink.
Endospore Stains
Endospore stains are used to differentiate between organisms that have endospores from those that don’t. Like gram staining, this is a multi-step process that uses two dyes:
- A piece of paper is laid on top of the sample, and the first dye is applied to the paper.
- With the paper still on top, the slide is held over a bunsen burner for five minutes.
- The paper is removed, and the slide is carefully rinsed with water.
- The second stain is applied and left to sit for two minutes.
- The slide is carefully rinsed again and then blotted dry.
When finished, the endospores will have taken on the first dye’s color, malachite green, while the rest of the organism is colored by the second dye, safranin (red).
Flagella Stains
Flagella stains are used to view flagella, which are normally too thin to be properly viewed. The addition of this stain coats the flagella and makes them thick enough to be studied under the microscope.
What Are the Dyes Used in Microscope Slide Staining?
The techniques for microscope slide staining employ several dyes for a wide number of purposes. Some dyes are generally used to be absorbed by the subjects in a sample, as with bright-field microscopy.
Other dyes are used specifically not to be absorbed and instead saturate the solution the subjects are suspended in, as with dark-field microscopy. Many dyes have far more specialized roles, such as the staining or specific kinds of bacteria or even individual parts of a cell.
Most dyes are types of salt and gain their color from colored ions or chromophores. The way a dye reacts with a substance, whether it is absorbed completely, partially, or not at all, depends on the chemical makeup of both the substance and the dye.
For example, a dye with a negative charge will be rejected by bacteria whose cell walls are also negatively charged and will therefore repel the dye. The charge of the dye’s ions also determines if the dye is basic or acidic.
Most dyes are actually basic and can be absorbed by bacteria. These dyes are used in positive staining, also referred to as basic staining. Negatively charged dyes cannot be absorbed by bacteria are instead used for negative staining.
How to Stain a Microscope Slide
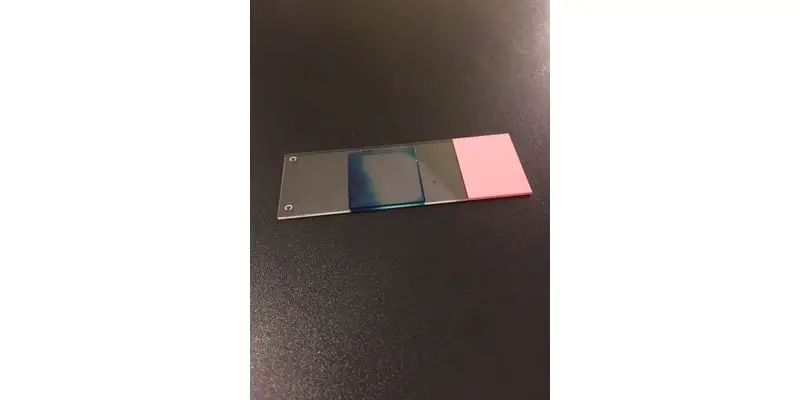
There are necessary steps you will have to complete before using any kind of stain. The first of those steps is wet-mounting your slide. For more information on wet mounts see this post but for the purposes of this article, below are the basic steps to a wet mount slide.
- Place a drop of a liquid sample at the center of your slide. In case you are viewing a small solid object, place that at the center and add a drop of water or liquid solution.
- Carefully place one edge of the coverslip at one side of the slide at an angle and gently lower it across your sample. The fluid should be spread evenly between the coverslip and slide.
Note: Too much liquid will cause the coverslip to slide around, and too little will make your sample dry out quickly.
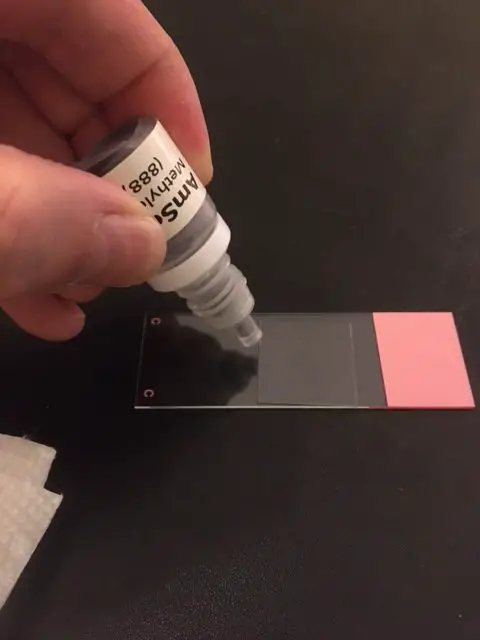
After wet-mounting your slide, your sample is ready for staining. Here are the basic staining steps:
- Place a drop of your chosen stain at one edge of the coverslip.
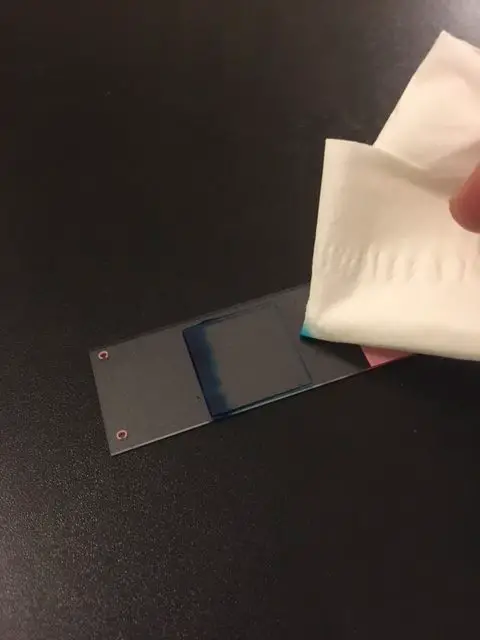
- Touch a dry tissue or napkin to the opposite edge of the coverslip. The process of osmosis will pull the stain across the slide and saturate your sample.
Takeaways
Microscopes allow us to magnify normally invisible objects to a size where we can study them. However, sometimes that isn’t enough, as many objects and microscopic organisms are naturally translucent. Microscope slide staining overcomes this obstacle and further enhances our experience, so we can observe these microscopic structures in much greater detail. Although staining is an important microscopy technique, the chemicals involved can be quite dangerous so be sure to use all the proper precautions if you intend to use them.
References
- Virtual Microbiology: Chapter 3 – Microscopy and staining
- Galileo: Microscopy and Staining (PDF)
- UNC School of Medicine: Chapter 8 Bright Field
- Cornell University: Gram Stain using Bright Field Microscopy
- Milne Publishing: Differential Staining Techniques
- Austin Community College: Stain Protocols – BIOL 2420
- Austin Community College: Flagella Stain
- Western Michigan University: Flagella Stain Procedure
- PennState: Simple Stains: Direct and Indirect Staining
- Wikipedia: Chromophore
- Wikipedia: Microscope slide
- Wikipedia: Microscopy
- Wikipedia: Solution
- Wikipedia: Osmosis
- Wikipedia: Bright-field microscopy
- Merriam-Webster: Saturate | Definition of Saturate by Merriam-Webster