
If you’re new to microscopy and you are at the point where you are ready to start taking pictures and video from your microscope you may not know exactly what equipment you need or how to configure that equipment to start taking fantastic photos and video.
The first thing you need to decide is which type of camera are you going to use. The answer to this question will determine the steps for configuring your microscope to take beautiful photos and video. There are three primary microscope camera types. In this post we will go through each type of microscope camera and how to set them up.
Microscope Camera
Microscope cameras are the most common way to take photos and video from your microscope because they are commonly included in microscope sets. Microscope cameras are built specifically to fit right into the eyepiece tube or the trinocular tube of the microscope. Most microscope cameras are able to take both still pictures and video. They will come with standard software that allows you to calibrate the camera, define photography and video settings, and allows you to automatically measure specimens.
Do I need a Trinocular Microscope to Use a Microscope Camera?
No, microscope cameras can be inserted into the eyepiece tube of the microscope. However, depending on the type of microscope and microscope camera you have, the weight imbalance can make the microscope topple over or inhibit the field of view. If you do not have a trinocular microscope, make sure your microscope is heavy enough to counterbalance the weight of the camera.
Which Microscope Camera Should I Choose?
There are many variations and types of microscope cameras which can make it intimidating to know which is the right one for you. My advice is, if you are not going to use a DSLR camera which in my opinion takes much higher quality image and video, do not go for cheap microscope camera. You will want to choose a high quality microscope camera that is comparable to the quality of a DSLR. This OMAX 18 megapixel microscope camera is the best one I have found for under $1,000. I have personally used this camera for about a year, and it takes very good photographs and video for the money.
How to Install a Microscope Camera
Microscope cameras are very easy to install because they were made to be used on microscopes. Depending on what type of microscope you have, the steps vary slightly. If you have a binocular or monocular compound microscope, simply remove the eyepiece from the eyepiece tube and secure it in a plastic baggy or some other storage item. Then remove the cap from the microscope camera and place the camera tube into the eyepiece tube of the microscope.
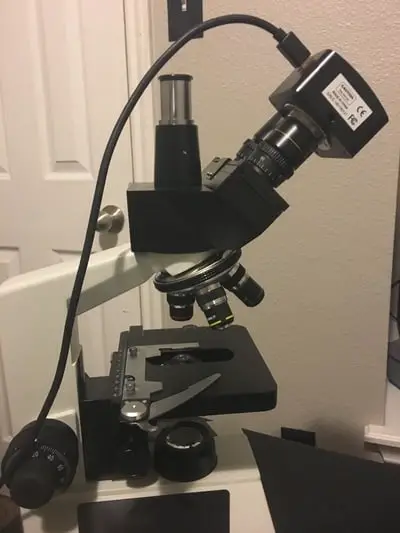
If you have a trinocular microscope there will typically be cover over the trinocular opening on top of the microscope head. Unscrew this cover. Next take the trinocular mount and screw it into the trinocular opening at the top of the microscope head. Now you can remove the cover on the microscope camera and place it in the trinocular tube. Next connect the USB cable to the microscope camera and plug the cable into the USB port of your computer or laptop. If you are using the OMAX Top View software open the program and click the device link in the “Camera list” section on the left pane. This will begin the projection of the camera to your computer.
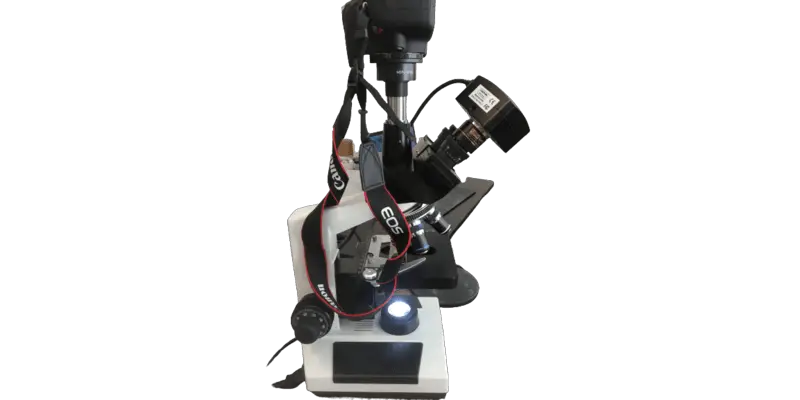
DSLR Camera for a Microscope
DSLR (digital single-lens reflex) cameras can be configured and mounted to a microscope to take extremely high quality picture and video. DSLR cameras capture quality images but they are typically more expensive than microscope cameras. If you are not satisfied with your microscope camera, I would suggest getting a DSLR camera. I decided to upgrade to a DSLR and will probably not use a standard microscope camera again.
Do I need a Trinocular Microscope to Use a DSLR Camera?
Yes, unlike a microscope camera, DSLR cameras are much heavier and will cause issues if you try to mount the DSLR into an eyepiece tube. If you do not have a trinocular microscope I would stick with getting the best quality microscope camera you can find.
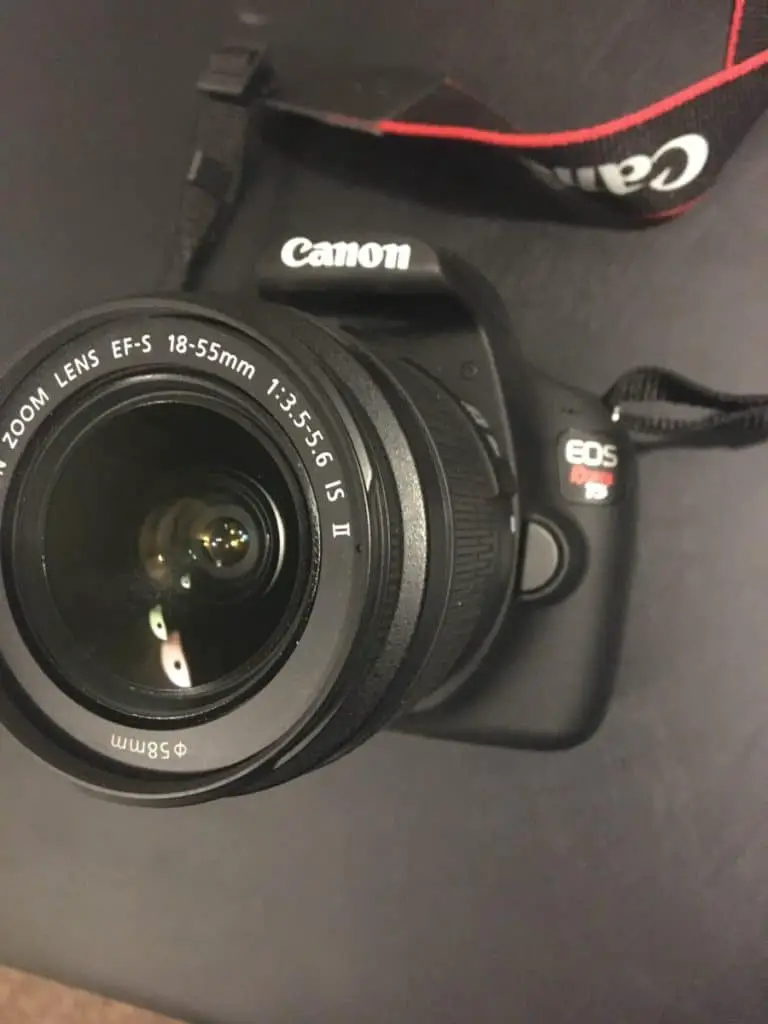
Which DSLR Camera Should I Choose?
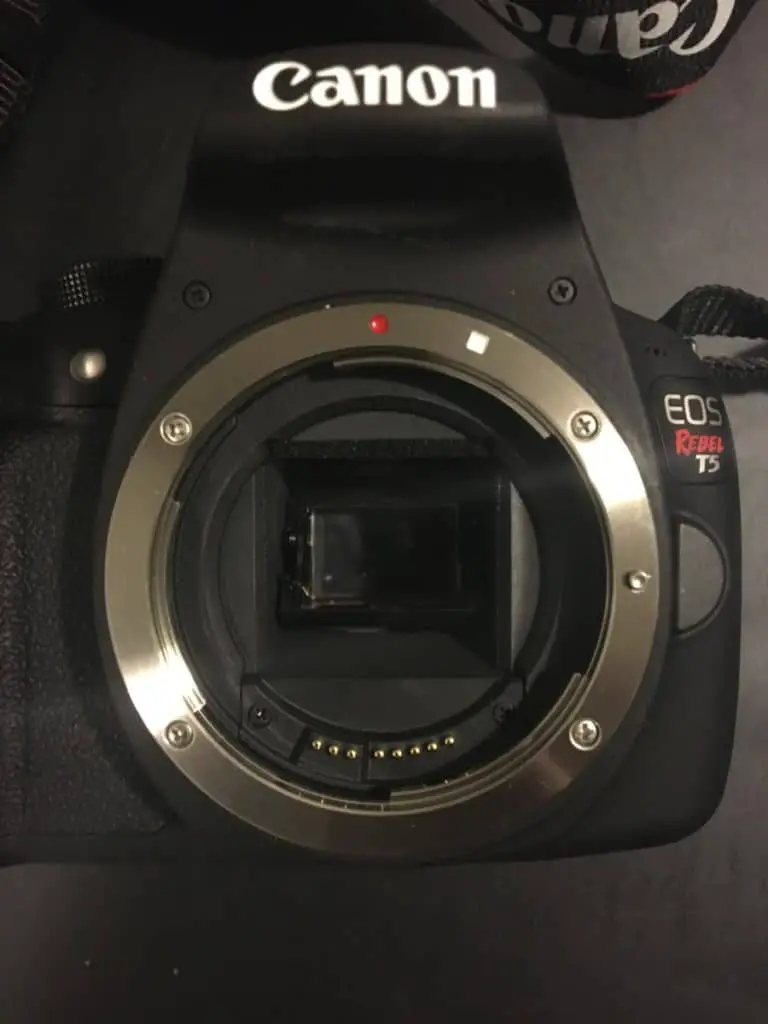
DSLR cameras are expensive. There is really no way around it. If you have the budget and are able to get a really nice one, go for it. If you are like me and microscopy is your hobby and your significant other would give you dirty looks for spending too much on a camera, you can find some great cameras for relatively cheap. The camera I bought for myself and I am really happy with is the Canon EOS Rebel T5 which I bought for under $200 on Amazon. If I had a larger budget I would have gotten the Canon EOS 5D Mark IV which shoots 4k 8.8 megapixel images also on Amazon.
How to Mount a DSLR Camera to a Microscope
The traditional way to mount a DSLR camera is using a T-mount or C-mount. However, getting the right T-mount or C-mount can be daunting because there are specific mounts required for different combinations of microscope brands. If you don’t want to mess around with any of that, AmScope has a DSLR adapter for Nikon and Cannon cameras that is plug and play. I decided to go that route and I was very pleased with how easy it was to use and how well it worked.
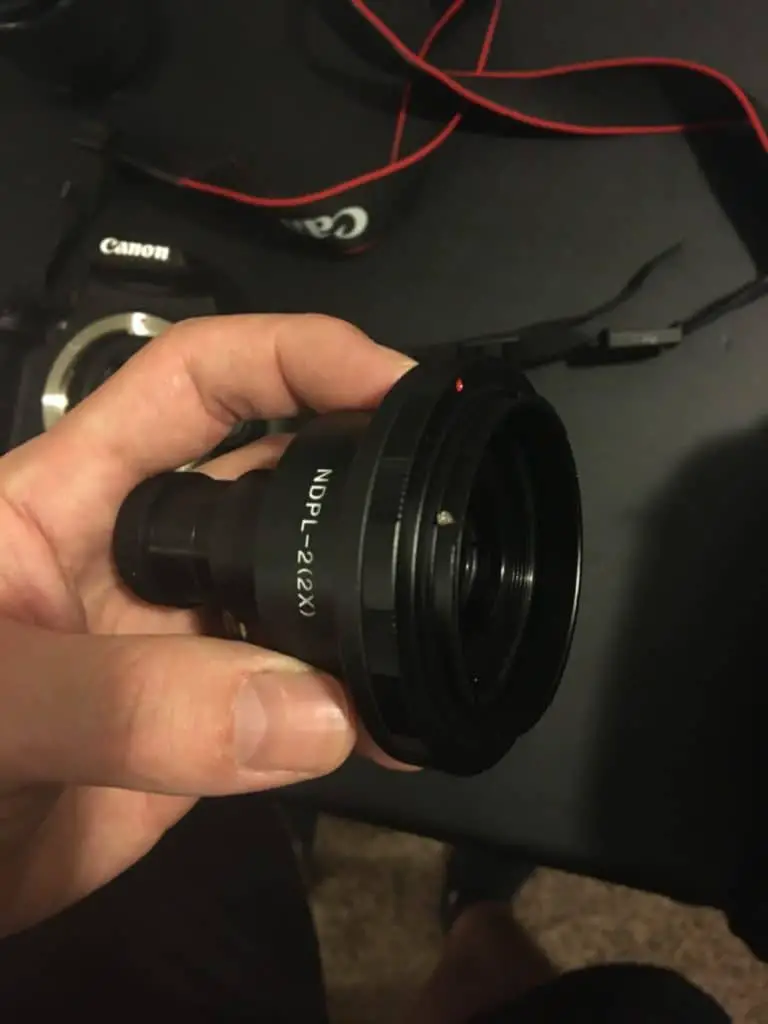
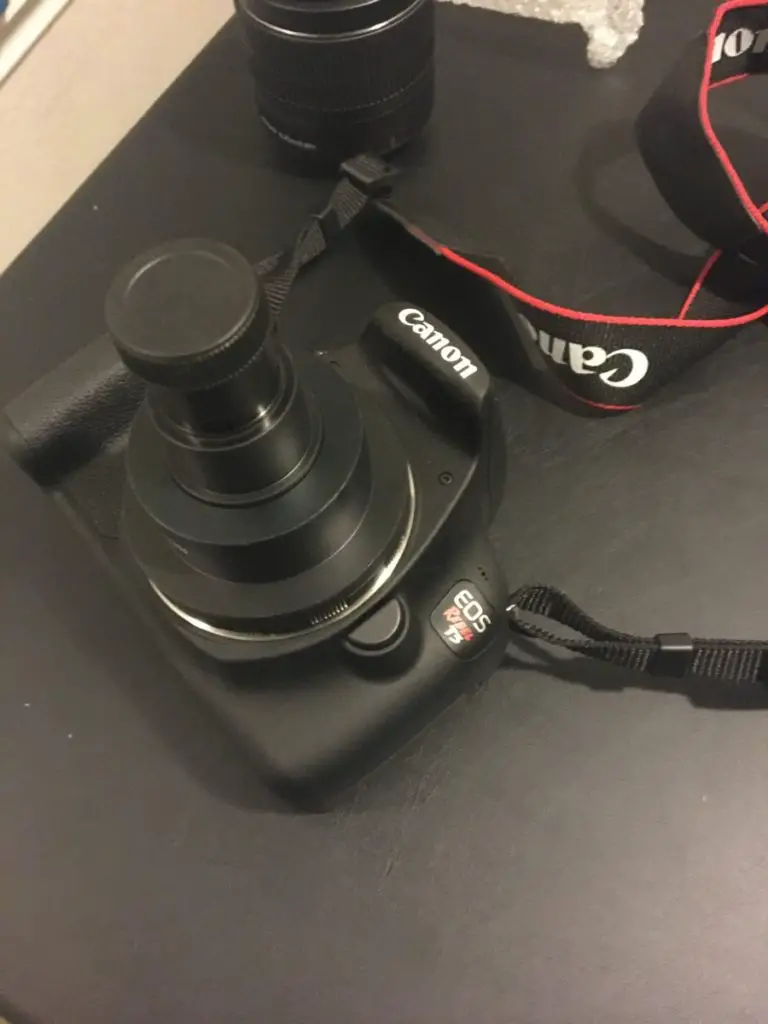
Once you have the AmScope adapter it is really easy to install the DSLR camera. First remove the DSLR lens by pressing the lens release button and twisting the lens counterclockwise. Once the lens is removed you will see a red dot and a white dot.
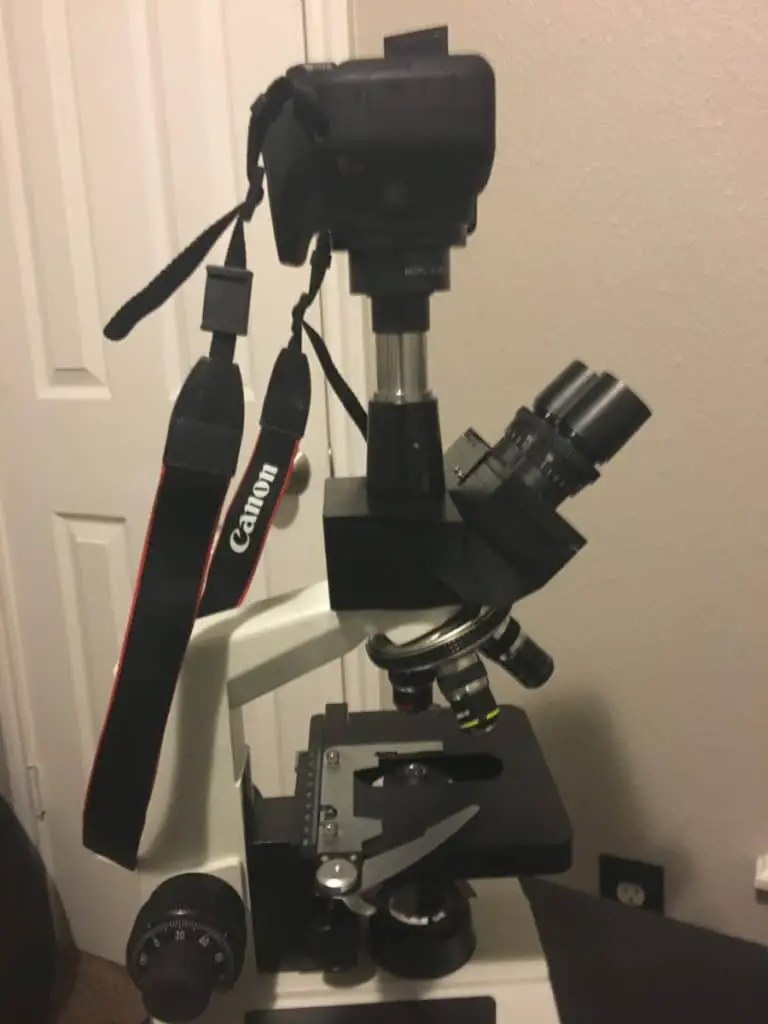
Next take the DSLR adapter and line the white dot up with the white dot of the adapter and twist the adapter until the adapter clicks into place.
Then you can gently lower the adapter lens into the trinocular tube. Turn on your DSLR camera and configure your settings to take video or still images and you’re ready to go!
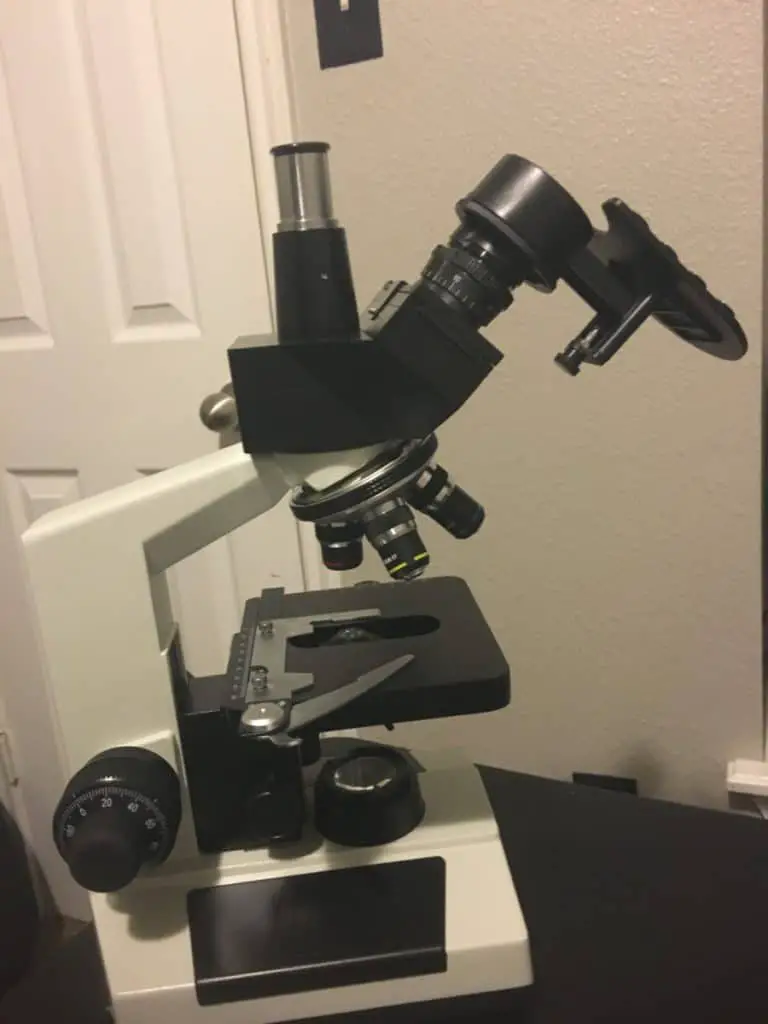
iPhone Camera for a Microscope
Most people already have a high quality camera that will fit in a purse or pocket. I’m talking of course about your smart phone. If you want a cheaper option than using a microscope camera or DSLR camera you can use a smart phone adapter to mount your iPhone directly to your microscope. I am using an iPhone adapter that came with another microscope set but there are plenty of great ones available on Amazon.
How to Mount an iPhone to a Microscope
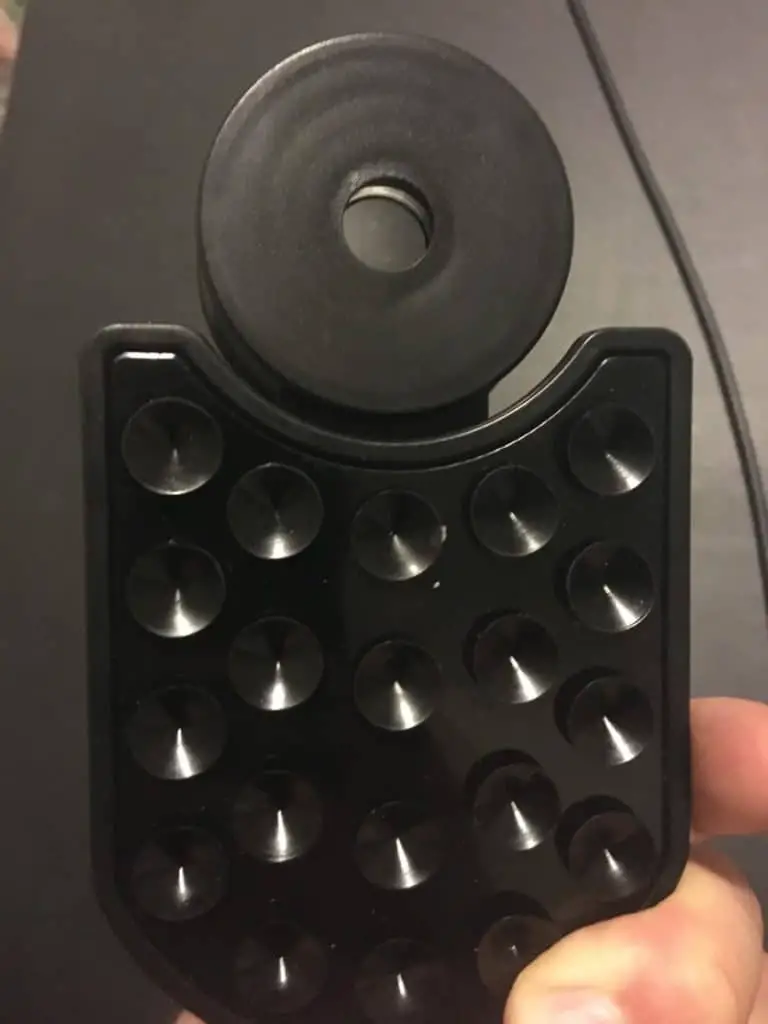
Depending on the type of iPhone microscope camera adapter you have purchased the setup may be a bit different, but it should be very similar to the process I describe below. First loosen the eyepiece holder by twisting it counterclockwise. Then place the eyepiece into the eyepiece holder with the eyepiece lens facing out and turn it clockwise to tighten the grip of the adapter around the eyepiece.
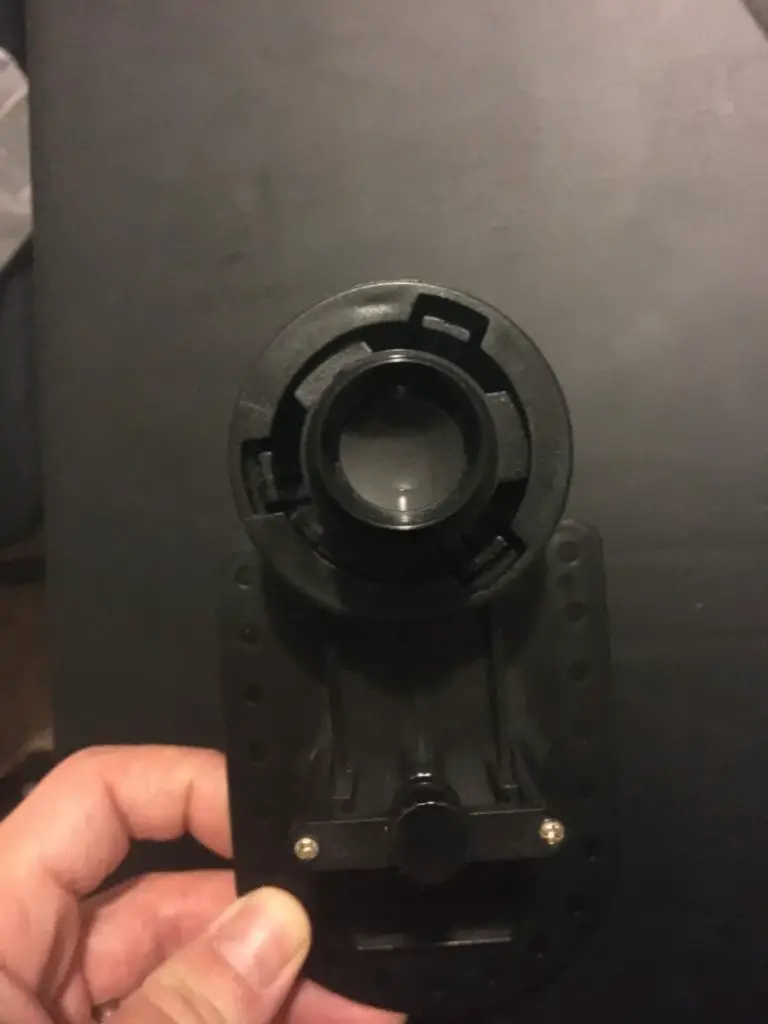
Next just place the eyepiece into the eyepiece tube. It should slide in just like an eyepiece would. The final step is sticking the iPhone to the suction cups on the iPhone landing pad. You will want to open the camera app and line up the camera where you can see through the eyepiece.
Takeaways
Observing microorganisms under the microscope is fascinating in its own right but being able to take pictures and video of what you are seeing and share it with friends who have the same interest, is even more fun. Whatever method you end up choosing to I hope this post has given you everything you need to get set up to take photos using your microscope quickly and easily. Share your photos with friends and family and be the inspiration for curiosity!