

Learning to see the world from a minuscule point of view creates an immense difference in our perspective of life. Whether you are a teacher, student, or just a microscope enthusiast, these riveting microscope lab ideas will have you magnifying your passion for the small things in life.
Observing Spiderwebs
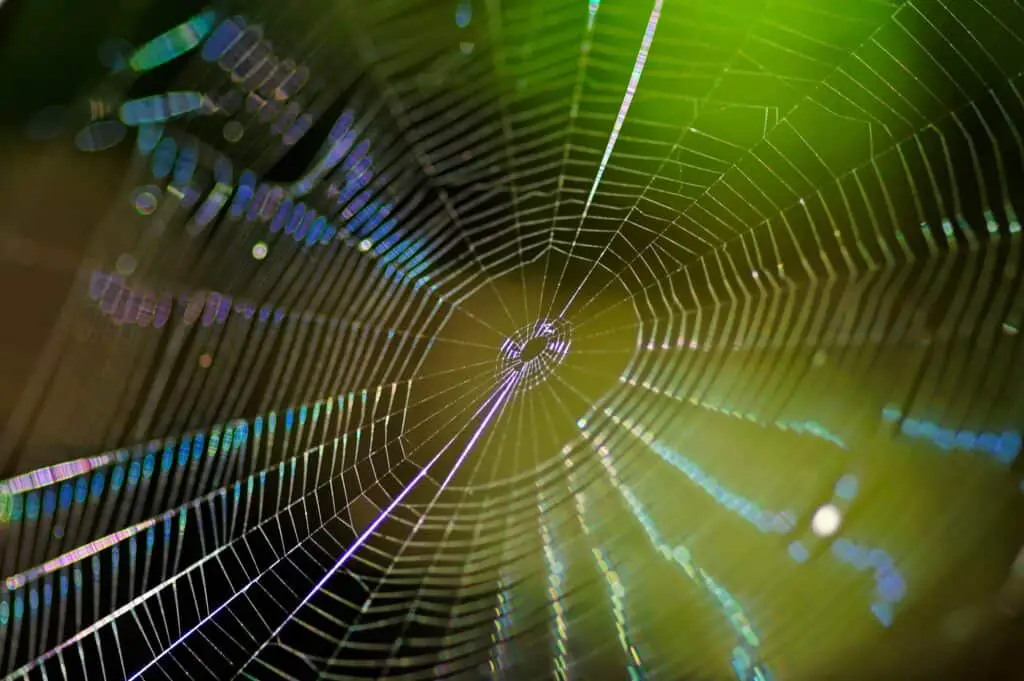
Teaching students about one of the most popular spider functions, the web, can pique curiosity and perhaps begin the desire to pursue a career as an Arachnologist.
Gathering Materials:
For the particular lab, you will need to go cobweb hunting. There are many types of spiderwebs because there are many types of spiders. Now, depending on where you live in the world, varying options of samples will be available to collect. Most places will have at least these four types:

- Spiral Orb Webs
- Tangle Webs/Cobwebs
- Sheet Webs
- Funnel Webs
The Best Collection Method:
Step one – Take a glass slide and paint on a thin layer of clear nail polish
Step two – Wait about a minute for the nail polish to dry, it should be tacky but not dry.
Step three – Carefully guide an interesting-looking portion of the web (the center or a part that the spider frequents often are usually good choices) onto the tacky polish. It is important to not touch the polish as oils from your finger will ruin the slide.
Step four – Place the cover slip over the polish and wait for it to dry fully before attempting to view it.
Resources to Further Your Knowledge about the Lesson Material
With the students grouped up, ask them what a spiderweb is, and how a spider uses it. Ask them what they think a spiderweb is made of. Teach them about each of the four common types of spider web and which spider makes them. Show them where they could find these spiders and their webs. Show pictures of each web you have and which spider makes them.
Additional Ideas to Include:
- Invite a biologist or arachnologist to talk to the class about spider webs and their importance for keeping the insect population under control.
- Talk to an architect or engineer about their thoughts on spider webs and where the engineering world is going with those studies
- Bring actual (non-venomous) spiders in jars to show the class and have them guess which web type they make
Fun Facts:
- Spiderwebs are stronger than steel of the same thickness
- Spiders such as orb weavers will make a completely new web each day and eat the old one to regain nutrients
- Some strands of silk are sticky for catching prey and some are strong for structural support
- The ancient Greeks used to use spiderwebs as an early form of bandage for cuts and scrapes
Comparing Beach Sand
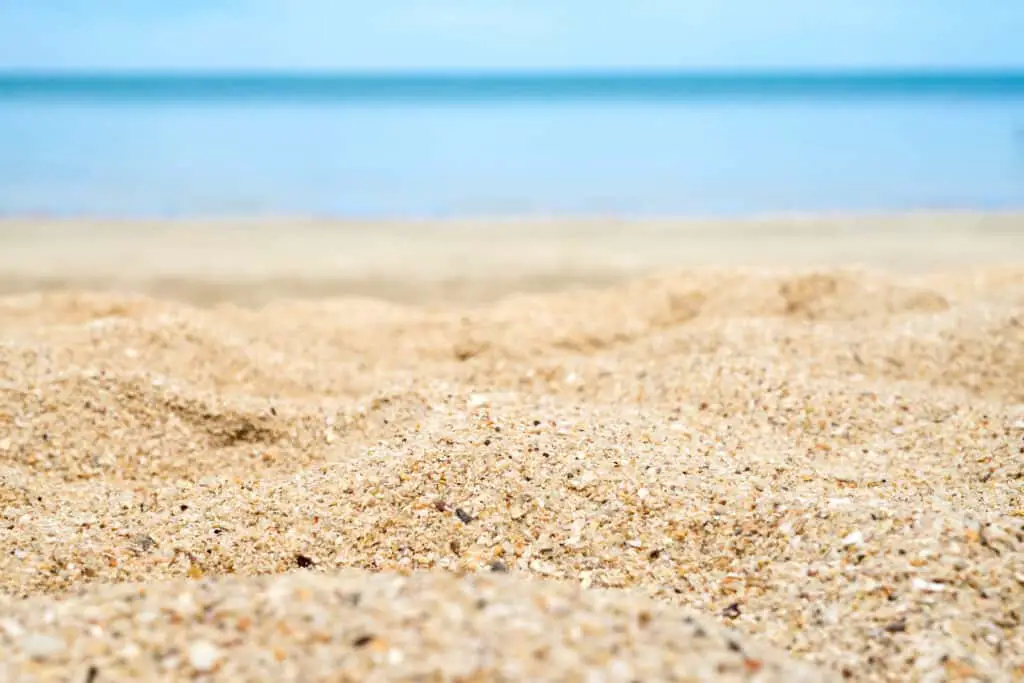
A close examination of beach sand will show students that the world is always teeming with life, even if we can’t see it with the naked eye.
Gathering Materials:
For this lab, you will need at least four different beach sand samples, preferably from different areas of the world, but even a few miles distance can show a difference in an ecosystem.
Obtain different colors and coarseness of grain to showcase the variety of life and rock types present. If you live in an area with both, take a sample of river or lake sand and compare it with a sample of ocean sand.
Preparing the Slide:
Step one – Paint the slide with a small amount of clear polish
Step two – Sprinkle a small pinch of sand onto the wet polish
Step three – Place the cover slip over top the sand sample and wait for it to dry before attempting to view it
Step four – Repeat with all sand samples, labelling as you go
Resources to Further Your Knowledge about the Lesson Material
Click here to learn more about types and regions of sand.
Explain what sand is, and how it is formed. Show them pictures of the tiny creatures that live in the sand. Tell them about erosion and how that contributes to the makeup of sand. Explain how sand is different textures and smoothness based on the material and region of the sand. Have the students take their first slide and view it under the microscope. Ask them to write down and sketch out what they find. Tell students to complete this step over again with all samples.
Have the students discuss in groups what they think some of the microscopic things they find in the sand are, for example, shells, sea glass, fragments of shells, tiny crabs and fish skeletons, types of rock, rock colors, etc.
Additional ideas to include:
- Have a geologist come in and talk to the kids about sand, rocks, and erosion
- Invite a biologist to talk about how sand affects ocean life, which creatures contribute to sand, and which make the sand their home.
- Include in the lesson how it is important to not take sand from certain beaches like the olivine beach in Hawaii because the sand is rare and needs to stay there to maintain its natural beauty
- Talk about rare colors of sand-like green, black, pink, and blue and why they are those colors
Fun Facts:
- Dunes are formed by the wind
- Sugar and Salt are technically classified as sand because any material made of a certain size and shape of grain counts as sand
- Investigators can use the sand in your shoe to find out which beach you went to!
- Turtles lay their eggs in the sand
Newspapers and Magazines

Printed materials are fascinating under the microscope because of how they’re printed. We recommend getting various samples of newspapers and magazines so students can examine as many different styles as possible. Using images will help them see the dots better.
Preparing the Slide:
Step one: Cut out a portion of the newspaper/magazine small enough to fit on the slide
Step two: Place it on the dry slide
Step three: Hold the slide cover at an angle before sealing it on top of the clipping
Ask the students how they think ink is printed on documents. Show them the magazine samples without the microscope and have them guess. Then, let them examine various samples from magazines and newspapers. Have them discuss in groups the difference between newspaper and magazine printing.
Then explain the different printing used for newspapers versus magazines.
Onion
Onions are a great microscope sample to use to teach students about plant cells. Using a thin layer of onion (which can be pulled off the onion with tweezers), students can see cell walls, vacuoles, and nucleuses.
Preparing the Slide:
Step one: Peel a thin, flexible layer off the outer membrane of an onion. Slice it so it will fit on a slide.
Step two: Add a drop of water to the slide. Place the onion layer on top. The water should help it flatten.
Step three: Add a drop of methylene blue (or iodine solution) to the slide.
Step four: Put slip on top of slide and avoid making air bubbles.
Step five: Use blotting paper to remove excess liquid from the side.
Teach students about the difference between plant and animal cells. Explain how plant cells have thick cell walls, which is what makes plants so sturdy even though they’re so small. Then give them the onion slides, and ask them what kind of cell it is–plant or animal. Ask them to sketch what they see, labeling parts of the cell as they go.
Insect Wings
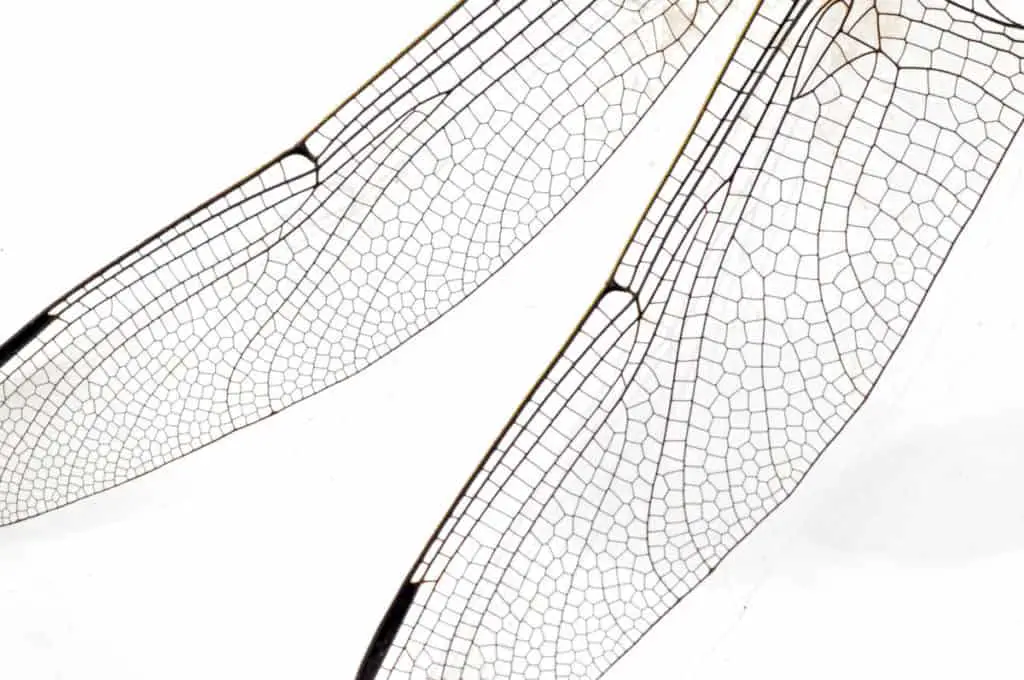
Insect wings are delicate and intricate. They vary wildly depending on the insect, and your students will love to examine bees, butterfly, and dragonfly wings under a microscope.
Finding dead bugs and ripping off their wings seems like a violent way to prepare for a science experiment. Luckily, instead of preparing the slides yourself, there are already plenty of options online. Amazon has plenty of options, and you can just order sets of 12 slides for twenty dollars.
Before handing out the slides, teach about the basic anatomy of insect wings. Then you can briefly explain the different types of wings and how that affects the flight patterns. Explain how the wings of bees and dragonflies change the way they move. Then let the students examine the slides, and let them guess what insect belongs to each wing.
Fun Facts:
- Insect wings are adult outgrowths of the insect’s exoskeleton
- Gill-like structures are thought to be the evolutionary source of modern insect wings
- For some species, the sex of the insect will change whether or not a bug will have wings
Seaweed
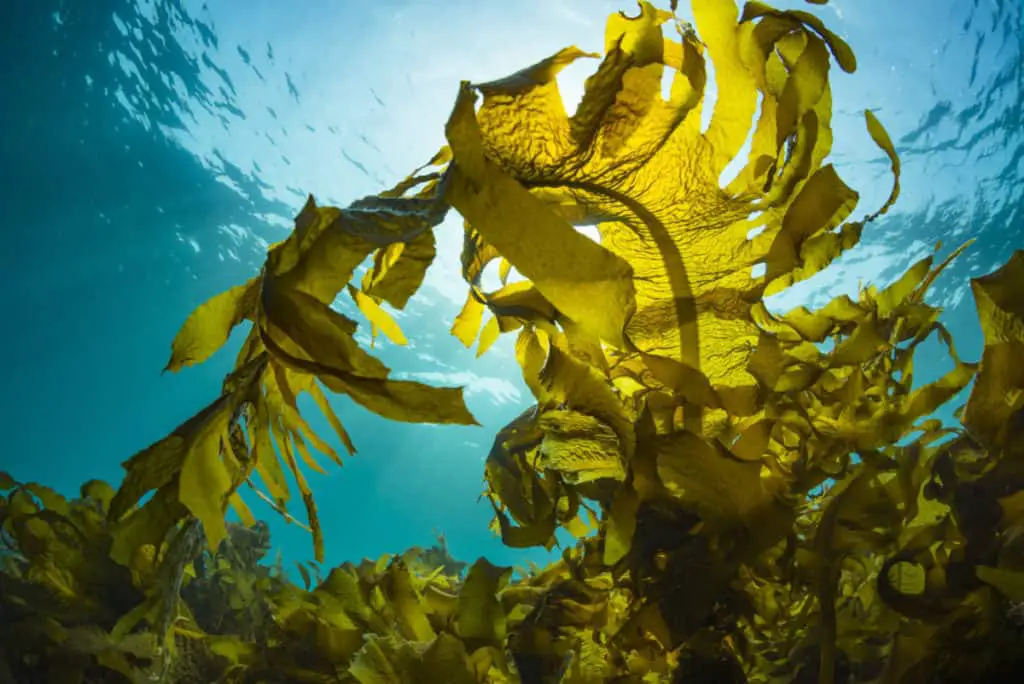
Seaweed is slimly, sticky, and incredible to examine under a microscope. They are a form of marine algae that is just fun to see in smaller components. You can gather seaweed from various beaches if you want a bunch of different samples for your students to examine. This will be easier to complete if you live near beaches, but if you don’t, you can also gather algae from nearby lakes.
Dried seaweed is sold as a snack in some cultures, and examining the dried versus fresh seaweed would help your students learn about how dehydrated cells are fundamentally different than fully-hydrated cells. Water makes a huge difference.
Preparation for Slide:
Step one: Cut samples of seaweed algae
Step two: Add a drop of water to the slide. Place algae sample directly on top of water droplet.
Step three: Place slide slip on top, careful to keep from creating air bubbles.
Step four: Blot out excess liquid with blotting sheet or tissue.
Pairing the seaweed and sand microscope experiments will be fun for the students, especially if they just finished learning about the beach. You could explain that, just like sand, seaweed can vary depending on which beach it was taken from.
You can also use samples of algae from lakes to show how most natural bodies of water grow and form algae. The algae changes depending on whether it prefers salt or freshwater. You can have the students observe the differences between freshwater and saltwater algae, makings sketches of their observations.
Cheek Cells
Cheek cells are incredible to view at a microscopic range, and they can be paired with onion cells for a class experiment if you want students to view animal and plant cells in direct contrast with one another. The best part about this experiment is, the students will get to view their very own cells under a microscope.
This experiment might take longer, just because you will want to allow the students to make their own slides.
Preparation for Slide:
Step one: Swab inside of mouth (side of cheek) with a sterile cotton swab
Step two: Add a drop of physiological saline on the center of a clean microscopic slide
Step three: Smear the cotton swab sample on the saline drop
Step four: Add a drop of methylene blue solution onto the smear
Step five: Gently place slide slip cover on top, careful to keep from adding air bubbles
Step six: Use blotting paper to get rid of excess liquid
Use this to demonstrate the anatomy of animal cells to your students. If you want, you can pair this with the onion activity so that they have the chance to compare plant and animal cells directly. See if they notice the difference between the flexible cell membrane (animal cells) and cell wall in the onion cell.
Hair

Hair is the odd one out. You can’t really see the individual cells within hair strands, but letting the students examine their own hair would be good for a biology class when they’re learning about how their body works. The students will be able to see their very own keratinous filament, and they can compare hair strands to see the thick, straight, thin, and curly hair up close.
Preparation for Slide:
Step one: Pluck a strand of hair. Use scissors to cut it to desired length–short enough to fit on the slide.
Step two: Add drop of water to the slide. Place hair strand directly on water droplet to keep it in place.
Step three: Place slide slip on water droplet. Use blotting paper to get rid of excess liquid.
Let students examine their own hair under the slide, while teaching them exactly what hair is and how it grows. If they’re comfortable, let them examine each other’s slides, so curly, straight, thin, and thick hair can be observed under the microscope by each student.